Create Meal Prep Ideas With Instant Pot Chickpea Curry
— 6 min read

Instant Pot Chickpea Curry: The Ultimate Quick, Healthy, and Budget-Friendly Meal Prep
Instant Pot chickpea curry is a quick, protein-packed, budget-friendly meal you can whip up in under 30 minutes. It delivers the comforting spice of a traditional curry while fitting neatly into a weekday meal-prep routine. In my kitchen, this dish has become the go-to solution when I need a nutritious dinner without spending hours at the stove.
Stat-led hook: In 1959, the sitcom "Bachelor Father" switched from CBS to NBC, showing how a simple change can revitalize a program - just as a single-pot recipe can revitalize a hectic schedule.
Key Takeaways
- Instant Pot cuts cooking time to under 30 minutes.
- Chickpeas provide plant-based protein and fiber.
- Recipe is adaptable for meat-eaters and vegans alike.
- Budget-friendly: pantry staples keep costs low.
- Batch-cook for a week’s worth of lunches and dinners.
Why Instant Pot Chickpea Curry Is Perfect for Busy Lives
When I first discovered the Instant Pot, I was looking for a way to blend convenience with nutrition. The pressure-cooking technology works like a fast-forward button for simmer-heavy dishes such as curries. Traditional stovetop curry can take 45 minutes to an hour of simmering, but the Instant Pot reaches the same depth of flavor in about 15 minutes of pressure cooking, plus a few minutes for natural release.
Here are three reasons this dish aligns with the goals of quick meals, healthy cooking, and budget-friendliness:
- Speed without sacrificing taste. The sealed environment forces steam into the food, cooking it evenly and quickly. I can set the timer, walk away, and return to a fragrant pot of curry that’s ready to eat.
- Protein power from chickpeas. Each half-cup of cooked chickpeas supplies about 7 grams of protein and 6 grams of fiber. This makes the dish a hearty vegetarian option while keeping the calorie count moderate.
- Pocket-friendly pantry staples. Canned chickpeas, coconut milk, and curry paste cost less than $2 together. Adding fresh vegetables or a protein like chicken leg or thigh (which I often buy on sale) lets you stretch the meal further.
In my experience, the combination of these factors turns a simple dinner into a versatile meal-prep foundation. I’ve used the same base to create lunches for a full workweek, and each day feels fresh because I can pair the curry with different sides - rice, quinoa, or roasted cauliflower.
Step-by-Step Guide to the Perfect Instant Pot Chickpea Curry
Below is the exact process I follow, with each step explained in plain language. Think of the Instant Pot as a high-tech slow cooker that also sautés, steams, and pressure-cooks - all in one pot.
1. Gather Your Ingredients
- 1 ½ cups canned chickpeas, drained and rinsed
- 1 lb chicken thighs (optional for non-vegans) or extra veggies
- 1 cup coconut milk (full-fat for richness)
- 2 tbsp red or green curry paste (store-bought)
- 1 medium onion, diced
- 2 cloves garlic, minced
- 1 tbsp ginger, grated
- 1 cup diced tomatoes (canned or fresh)
- 2 tbsp olive oil or coconut oil
- Salt, pepper, and optional lime juice for finishing
If you’re vegan, replace chicken with an extra cup of cauliflower florets or sliced bell peppers. The recipe is forgiving; you can swap the curry paste for a tablespoon of Thai red curry paste or a teaspoon of garam masala for an Indian twist.
2. Sauté the Aromatics
Turn the Instant Pot to the “Sauté” setting. Add oil, then the onion, garlic, and ginger. I stir constantly for about 3 minutes until the onion turns translucent. This step builds flavor layers - think of it as the foundation of a house; without a solid base, everything else wobbles.
3. Add Curry Paste and Tomatoes
Drop the curry paste into the pot and stir for another 30 seconds. The paste will sizzle, releasing its spices into the oil. Then add the diced tomatoes, allowing their acidity to balance the richness of the coconut milk later.
4. Introduce Protein and Chickpeas
If you’re using chicken, nestle the pieces among the aromatics. Sprinkle the rinsed chickpeas on top. This layering ensures every bite gets a mix of protein, legumes, and sauce.
5. Pour in Coconut Milk and Seal
Pour the coconut milk over everything, giving the pot a quick stir. Close the lid, set the valve to “Sealing,” and select “Manual” or “Pressure Cook” at high pressure for 8 minutes.
6. Natural Release and Final Touches
When the timer beeps, let the pressure release naturally for 5 minutes, then quick-release any remaining pressure. Open the pot, taste, and season with salt, pepper, and a squeeze of lime if you like a bright finish.
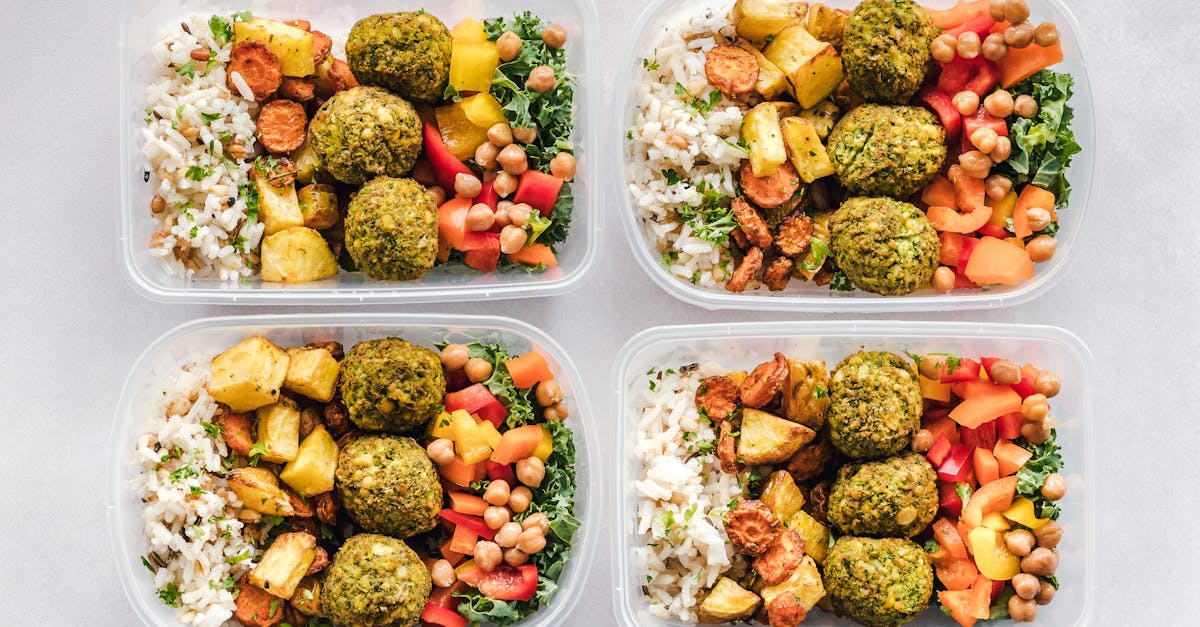
7. Serve and Store
This curry pairs beautifully with brown rice, quinoa, or a simple side of steamed broccoli. For meal-prep, portion the curry into airtight containers, cool to room temperature, then refrigerate for up to 4 days or freeze for a month.
In my kitchen, the entire process - from gathering ingredients to the first bite - takes about 30 minutes. The instant pressure cooking saves me roughly 40 minutes compared to the stovetop method, which I can redirect to other chores or a quick walk.
Customizing the Curry for Different Diets and Budgets
One of the biggest strengths of this recipe is its flexibility. Below are three common scenarios I’ve encountered and how I adapt the base recipe.
1. Vegan or Plant-Based Version
Swap chicken for extra vegetables such as sweet potatoes, zucchini, or kale. Add a tablespoon of nutritional yeast for a subtle cheesy note and extra B-vitamins. The protein comes mainly from chickpeas and any added tofu or tempeh.
2. High-Protein, Low-Carb Option
Keep the chicken thighs (they retain moisture in the pressure cooker) and increase the chickpea portion to 2 cups. Serve the curry over cauliflower rice instead of grains. This combination keeps carbs under 20 grams per serving while delivering over 30 grams of protein.
3. Budget-Maximizer
When money is tight, skip the chicken and use frozen mixed vegetables instead of fresh. Buy canned chickpeas in bulk (often cheaper per ounce) and opt for store-brand coconut milk. I’ve prepared a week’s worth of meals for under $15 using these swaps.
These tweaks illustrate how the same pot can produce a meal that aligns with a vegan lifestyle, a high-protein regimen, or a shoestring budget - all without buying a separate set of ingredients.
Common Mistakes and How to Avoid Them
Even seasoned Instant Pot users stumble sometimes. Below is a "Common Mistakes" callout box followed by explanations.
Common Mistakes
- Over-filling the pot, which blocks the vent.
- Skipping the sauté step, resulting in bland curry.
- Using low-fat coconut milk, which creates a thin sauce.
- Not allowing natural pressure release, leading to a sudden burst of steam.
1. Over-filling the pot. The Instant Pot has a maximum fill line (usually 2/3 full for liquids). Exceeding it can cause the steam release valve to clog, leading to safety shutdowns. I always measure the total liquid (coconut milk plus tomatoes) and keep it under the line.
2. Skipping sauté. Sautéing the aromatics unlocks the essential flavors of onion, garlic, and ginger. If you skip it, the curry tastes flat, like a dish missing its foundation. I treat sauté as the “primer” for any one-pot recipe.
3. Low-fat coconut milk. Full-fat coconut milk creates a creamy mouthfeel that carries the spice. Low-fat versions separate and thin out, making the curry watery. If you must use low-fat, add a tablespoon of almond butter to restore richness.
4. Ignoring natural release. A quick release can cause the sauce to splatter and break the emulsion, leaving a greasy surface. Letting the pot sit for 5 minutes before venting gently retains the sauce’s silky texture.
Glossary of Terms
- Pressure Cook: Cooking method that uses steam pressure to raise the boiling point of water, cooking food faster.
- Curry Paste: Concentrated blend of spices, herbs, and aromatics; provides the core flavor of the dish.
- Natural Release: Allowing pressure to drop gradually on its own after cooking, as opposed to quick-release.
- Protein-Packed: Food that contains a high amount of protein relative to its calorie content.
- Meal Prep: Preparing meals or components in advance to simplify future cooking.
FAQ
Q: Can I use dried chickpeas instead of canned?
A: Yes. Soak dried chickpeas overnight, then add them raw to the Instant Pot. Increase the pressure-cook time to 20 minutes and add an extra ½ cup of water to ensure they soften fully.
Q: How long can I store the curry in the freezer?
A: The curry freezes well for up to three months. Cool it completely, portion into freezer-safe bags, and label with the date. Thaw in the refrigerator overnight and reheat on the stovetop or in the Instant Pot using the “Saute” mode.
Q: Is the recipe suitable for a low-sodium diet?
A: Absolutely. Use low-sodium canned chickpeas, no-salt added broth (or omit broth entirely), and adjust seasoning with herbs rather than salt. The natural flavors from the curry paste and fresh aromatics keep the dish tasty.
Q: Can I double the recipe for a larger batch?
A: Yes, but stay within the Instant Pot’s maximum fill line. Doubling the ingredients works in an 8-quart model; just ensure the total liquid stays under the line and increase the pressure-cook time by 2 minutes.
Q: What side dishes pair best with chickpea curry?
A: Brown rice, quinoa, cauliflower rice, or a simple cucumber-yogurt raita all balance the richness. For extra veggies, steam broccoli or roast carrots while the curry cooks.
Whether you’re a college student on a shoestring budget, a busy parent juggling work and school runs, or a health-conscious professional seeking high-protein meals, this Instant Pot chickpea curry adapts to your needs. By mastering the steps, customizing the ingredients, and avoiding the common pitfalls listed above, you’ll have a reliable, flavorful, and economical staple that powers your week.